draw straight line with paint 3d
How to employ Microsoft Paint 3D
Create 3D scenes using pre-made models and your own creations
How to employ Microsoft Paint 3D
If you've e'er wanted to experiment with 3D but establish most modelling tools as well complicated, the new Paint 3D app in Windows 10 could exist just what you're looking for.
The replacement for the skilful sometime Paint program is meant to be like shooting fish in a barrel to apply for sketching in 2nd, modelling 3D objects and bringing the two together in a 3D scene. You'll exist able to turn photos into 3D models, add colours and textures to models you make from 3D, and make a 3D model you can share with your friends, view on HoloLens or print out on a 3D printer. Recollect, information technology'south yet a preview, and so not all the features are ready yet and you'll need to be a Windows Insider to try information technology.
Don't have the software yet? Acquire how to install Microsoft Paint 3D.

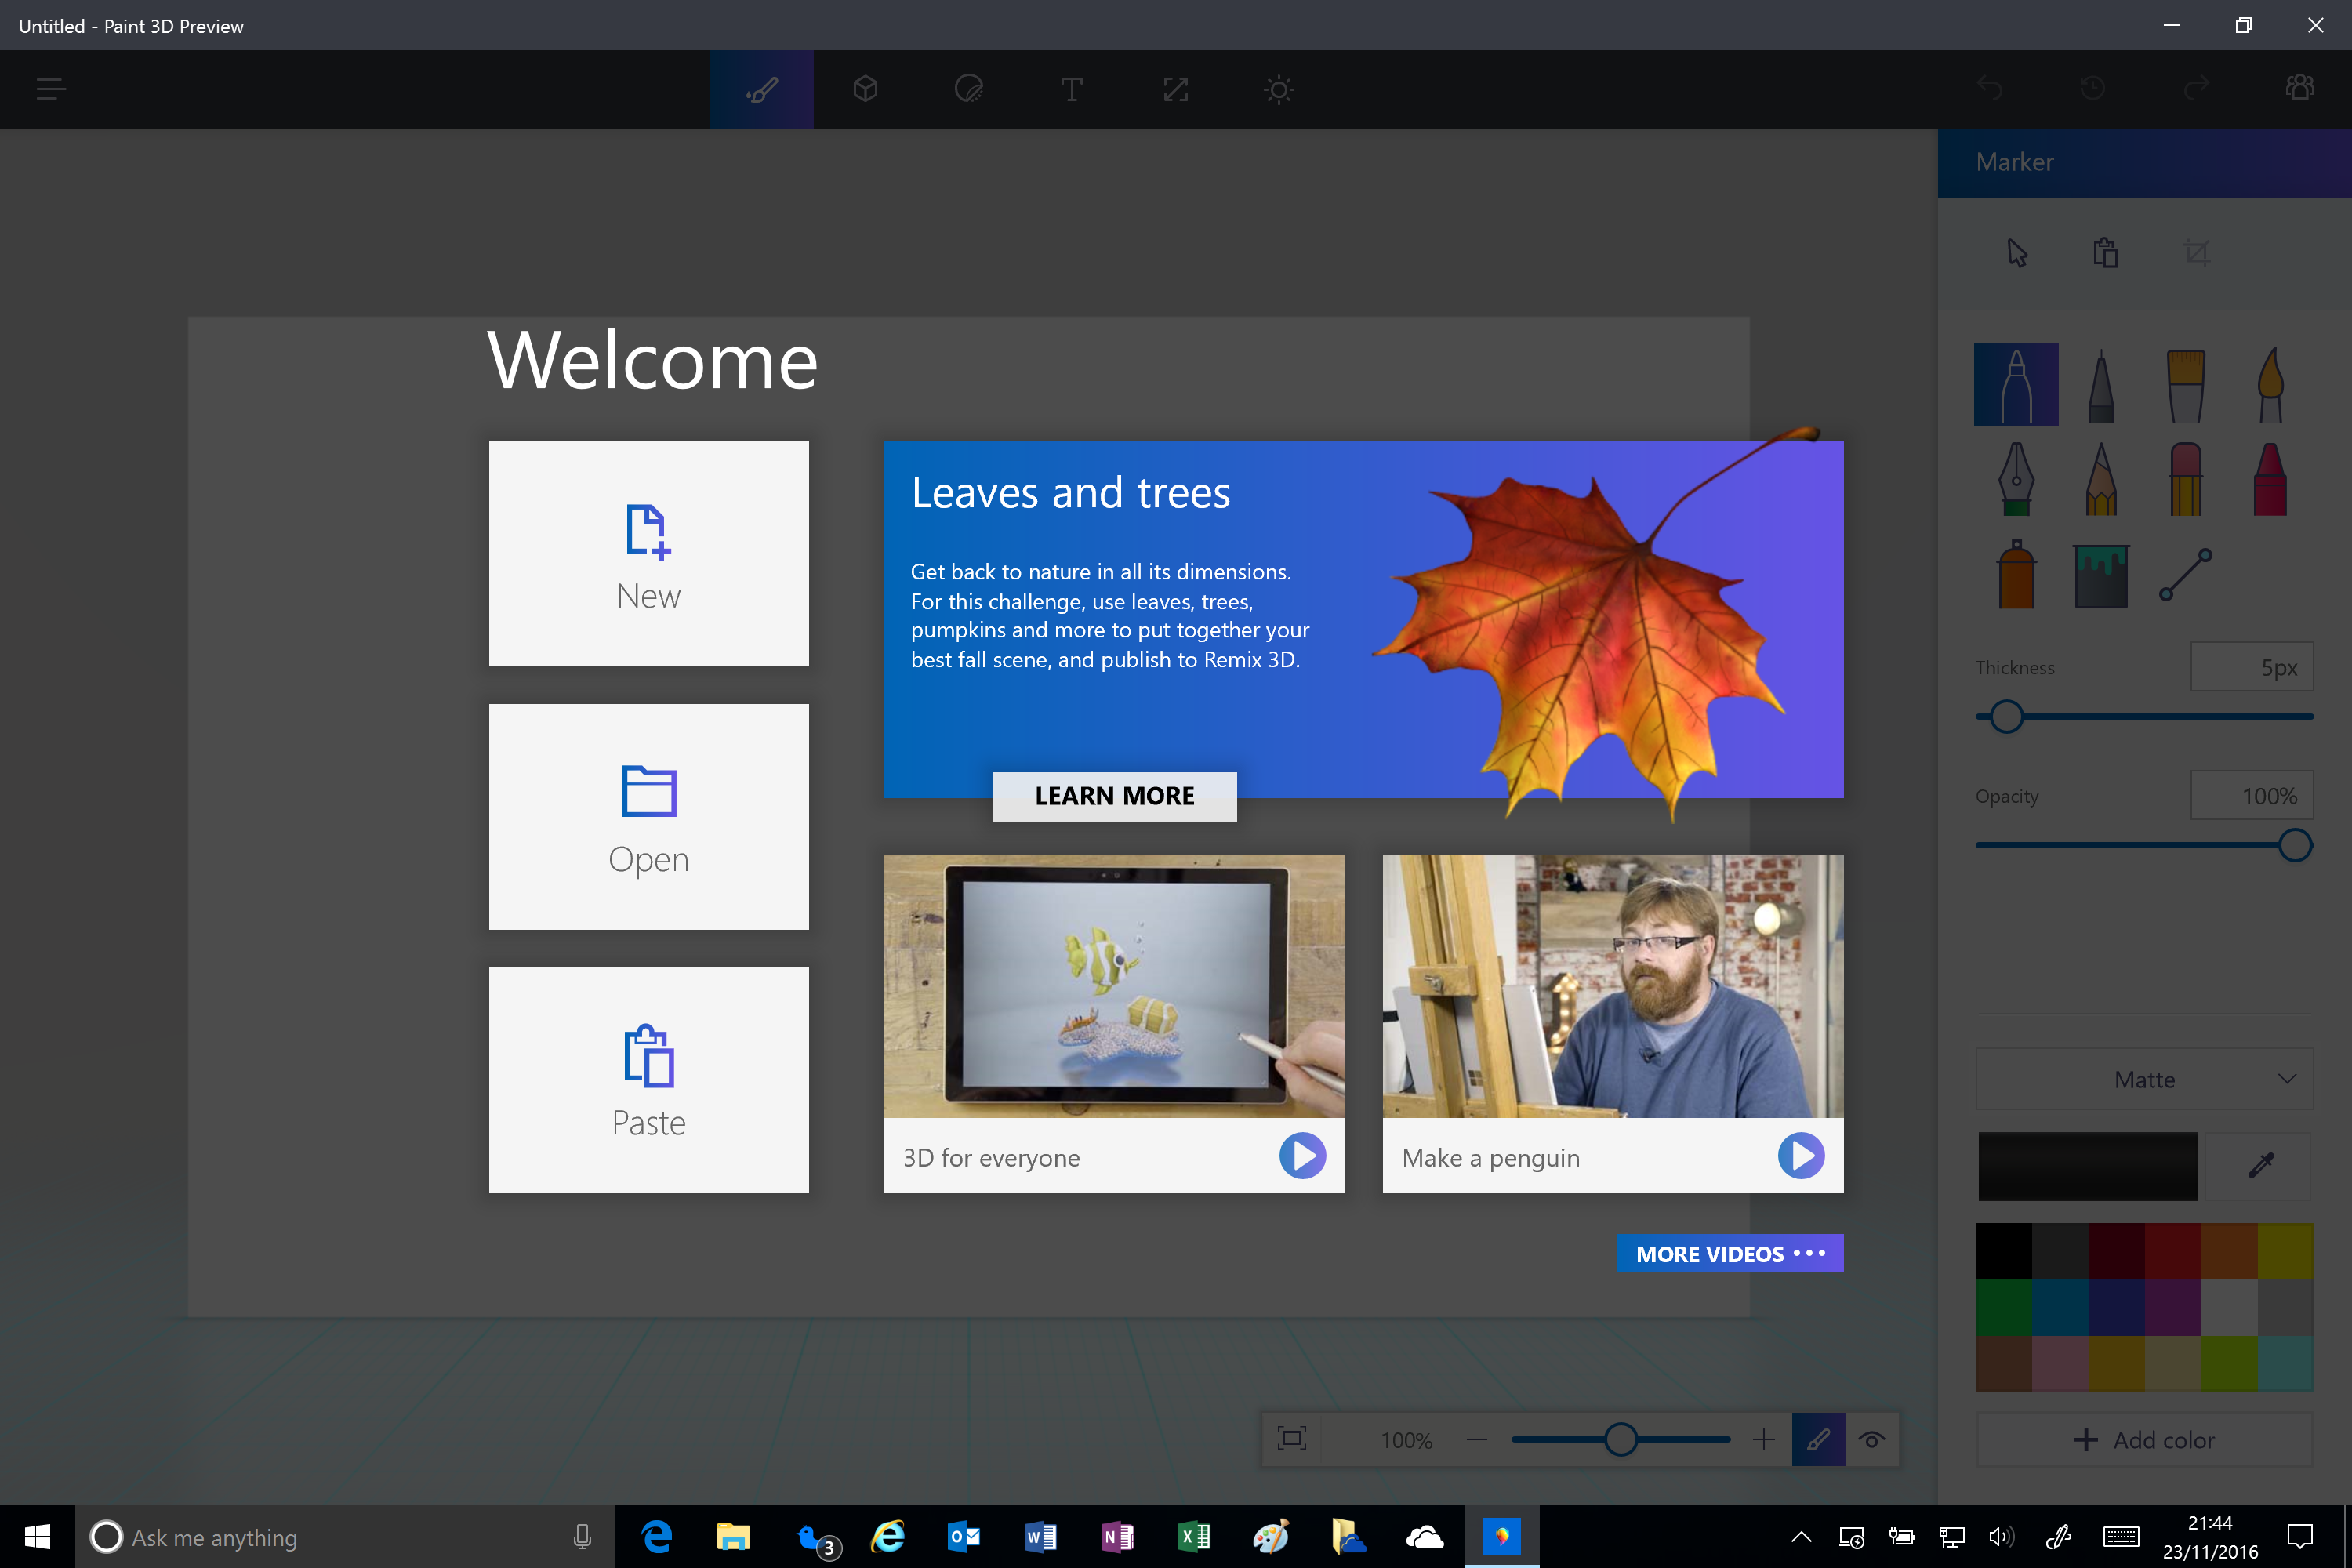
i. Get started with Paint 3D
The offset fourth dimension you open Microsoft Paint 3D you lot have to accept the Terms and Atmospheric condition. You'll and so see this set of tips and tutorials to assist you lot go started. You tin watch some video tutorials to bear witness you how to piece of work with Paint 3D or leap straight in to making your own projects, simply the easiest way to get-go is to bring together the Remix 3D site and attempt out the regular projects, like this one to create an autumn landscape. Don't worry if y'all click by the tips and want to open them again; merely close Paint 3D and reopen it.
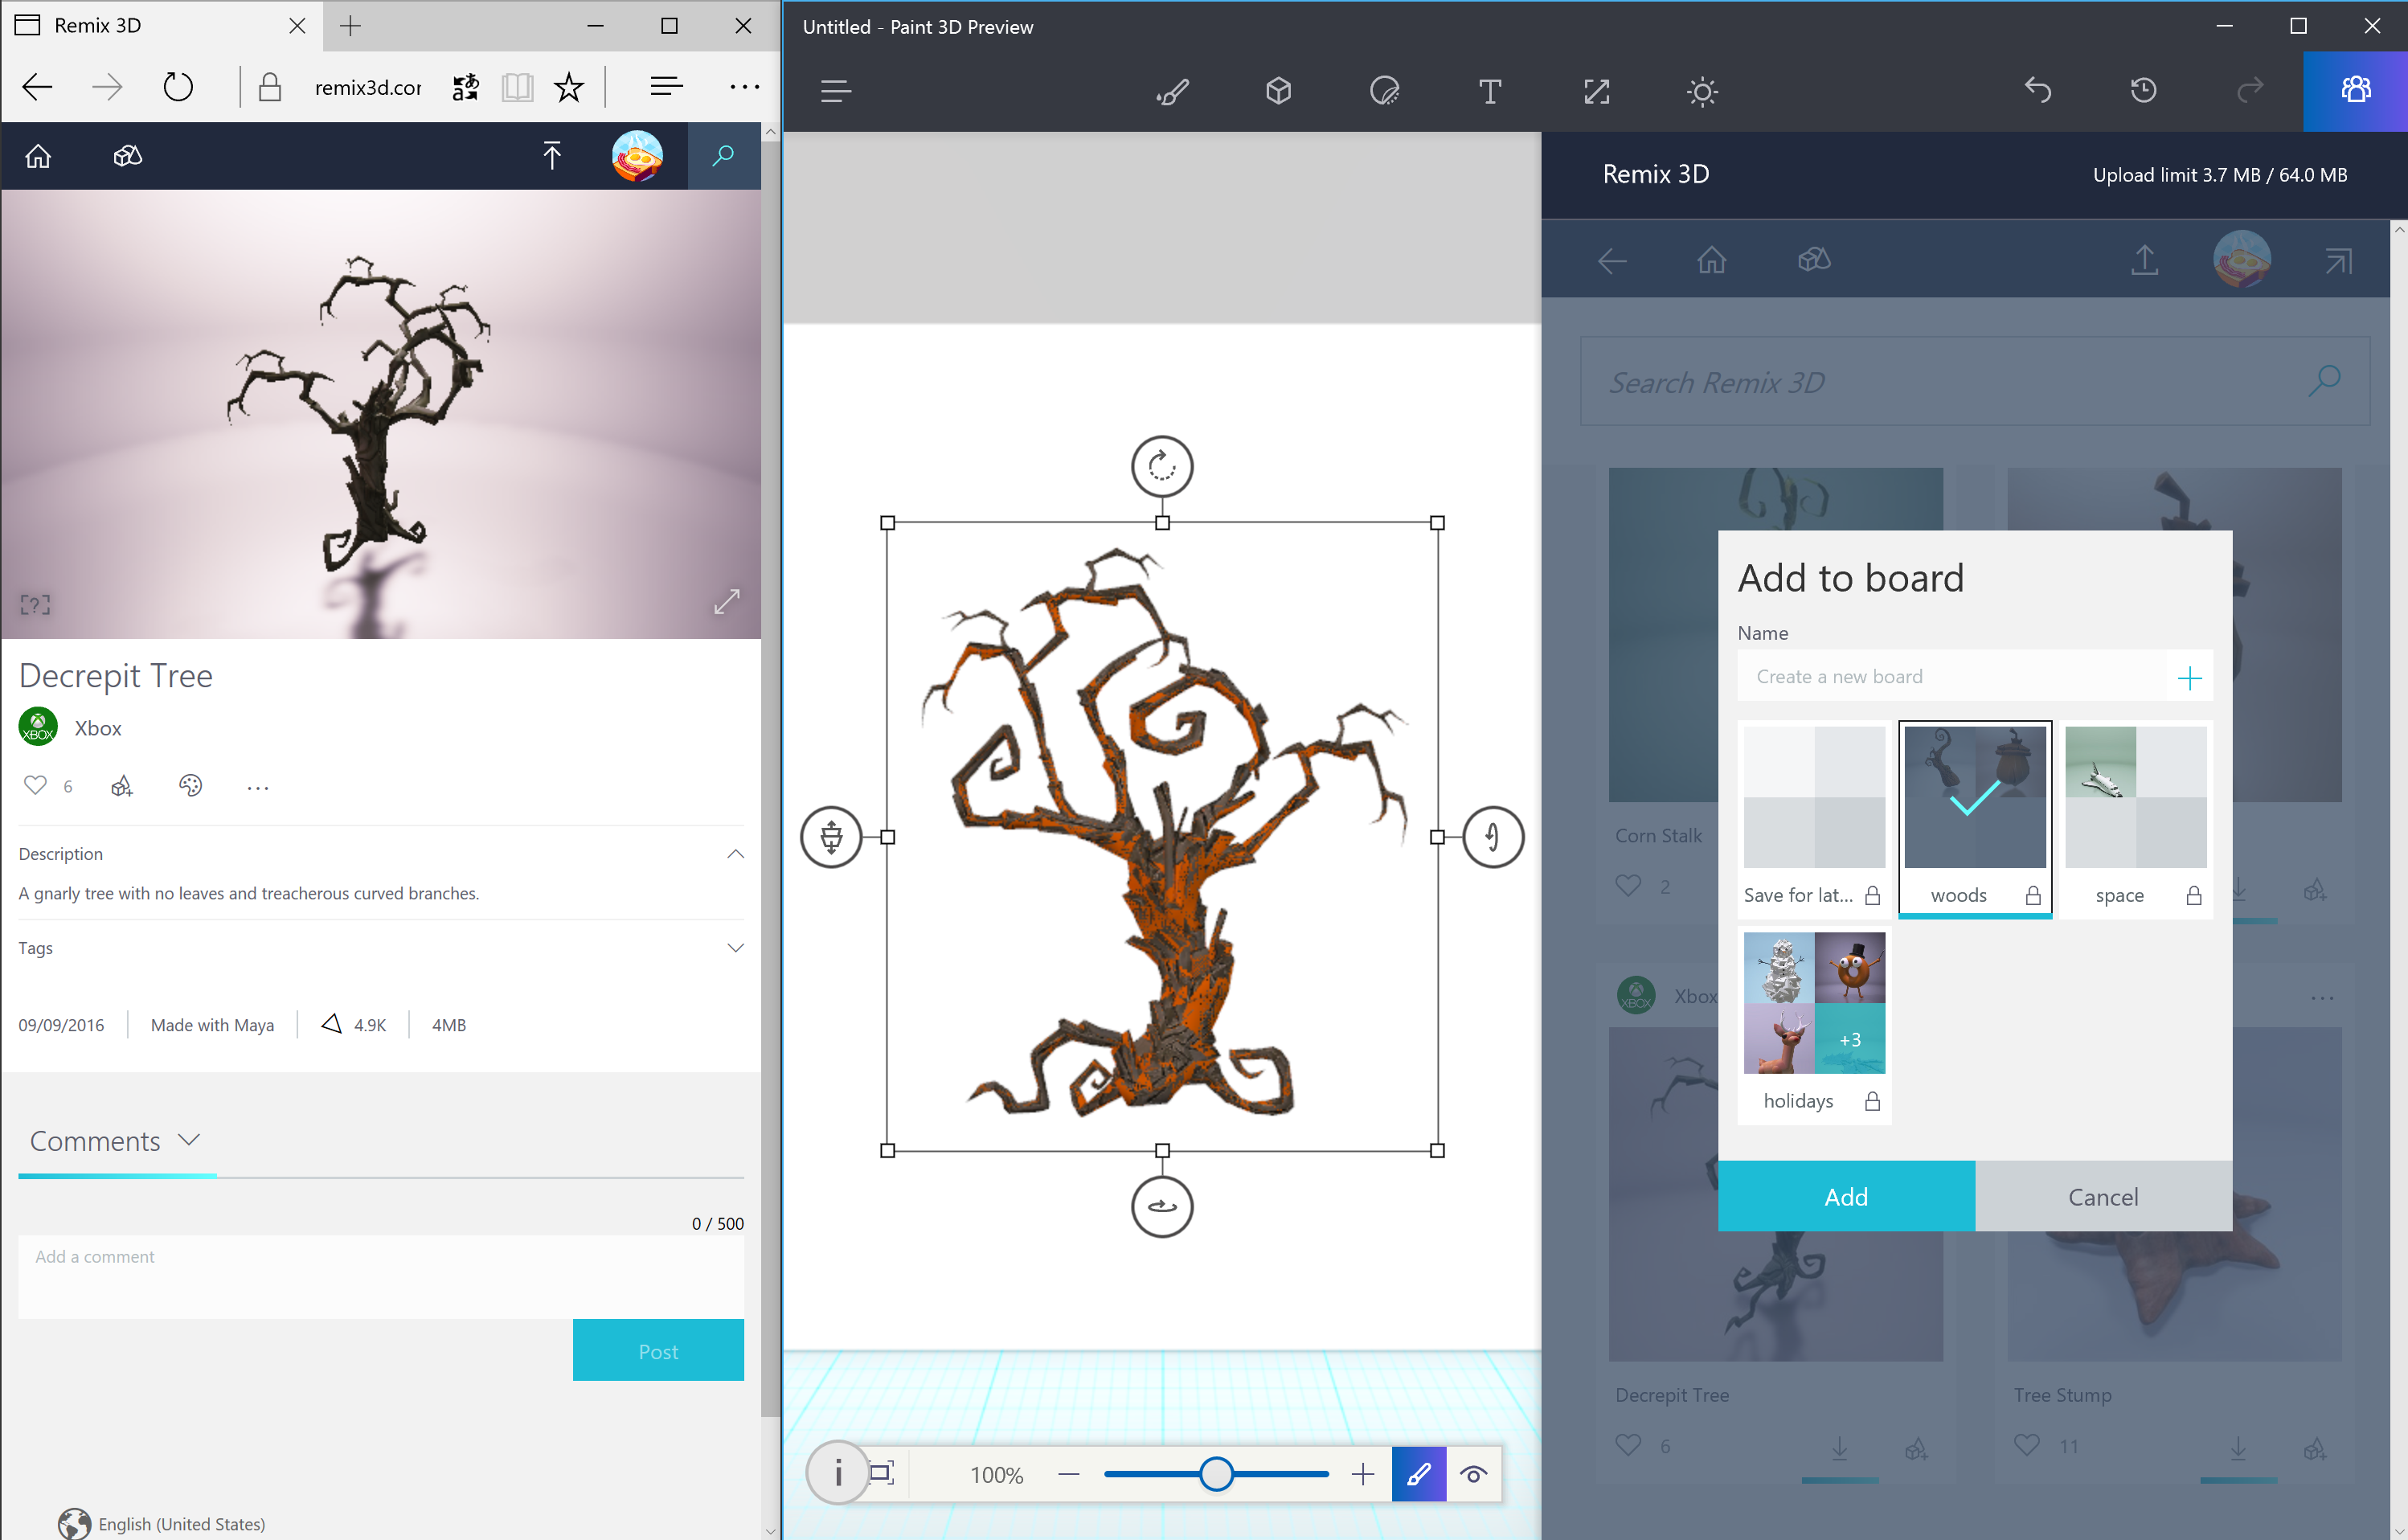
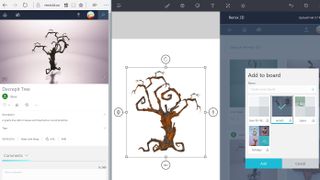
Looking for ideas? click the Remix 3D icon on the far right of the toolbar (it looks like a grouping of people). Not just volition that let you share your 3D creations with other people; you can also look at what others in the Remix 3D community accept created, and download 3D models you can use in your own images. You tin even export 3D creations from Minecraft into Remix 3D. It's a great style to get inspiration and building blocks to assistance you become started. Use boards to go along track of models y'all similar, or browse Remix 3D online.
3. Catch a model and start editing
Your scenes tin be a mix of 2nd images and 3D shapes. To get 3D models, yous can draw 3D shapes freehand with the Doodle tool, elevate and driblet the congenital-in 3D shapes, import FBX and OBJ format models from other 3D software or 3MF and STL files designed for 3D printers – or you tin use 3D models from Remix 3D.
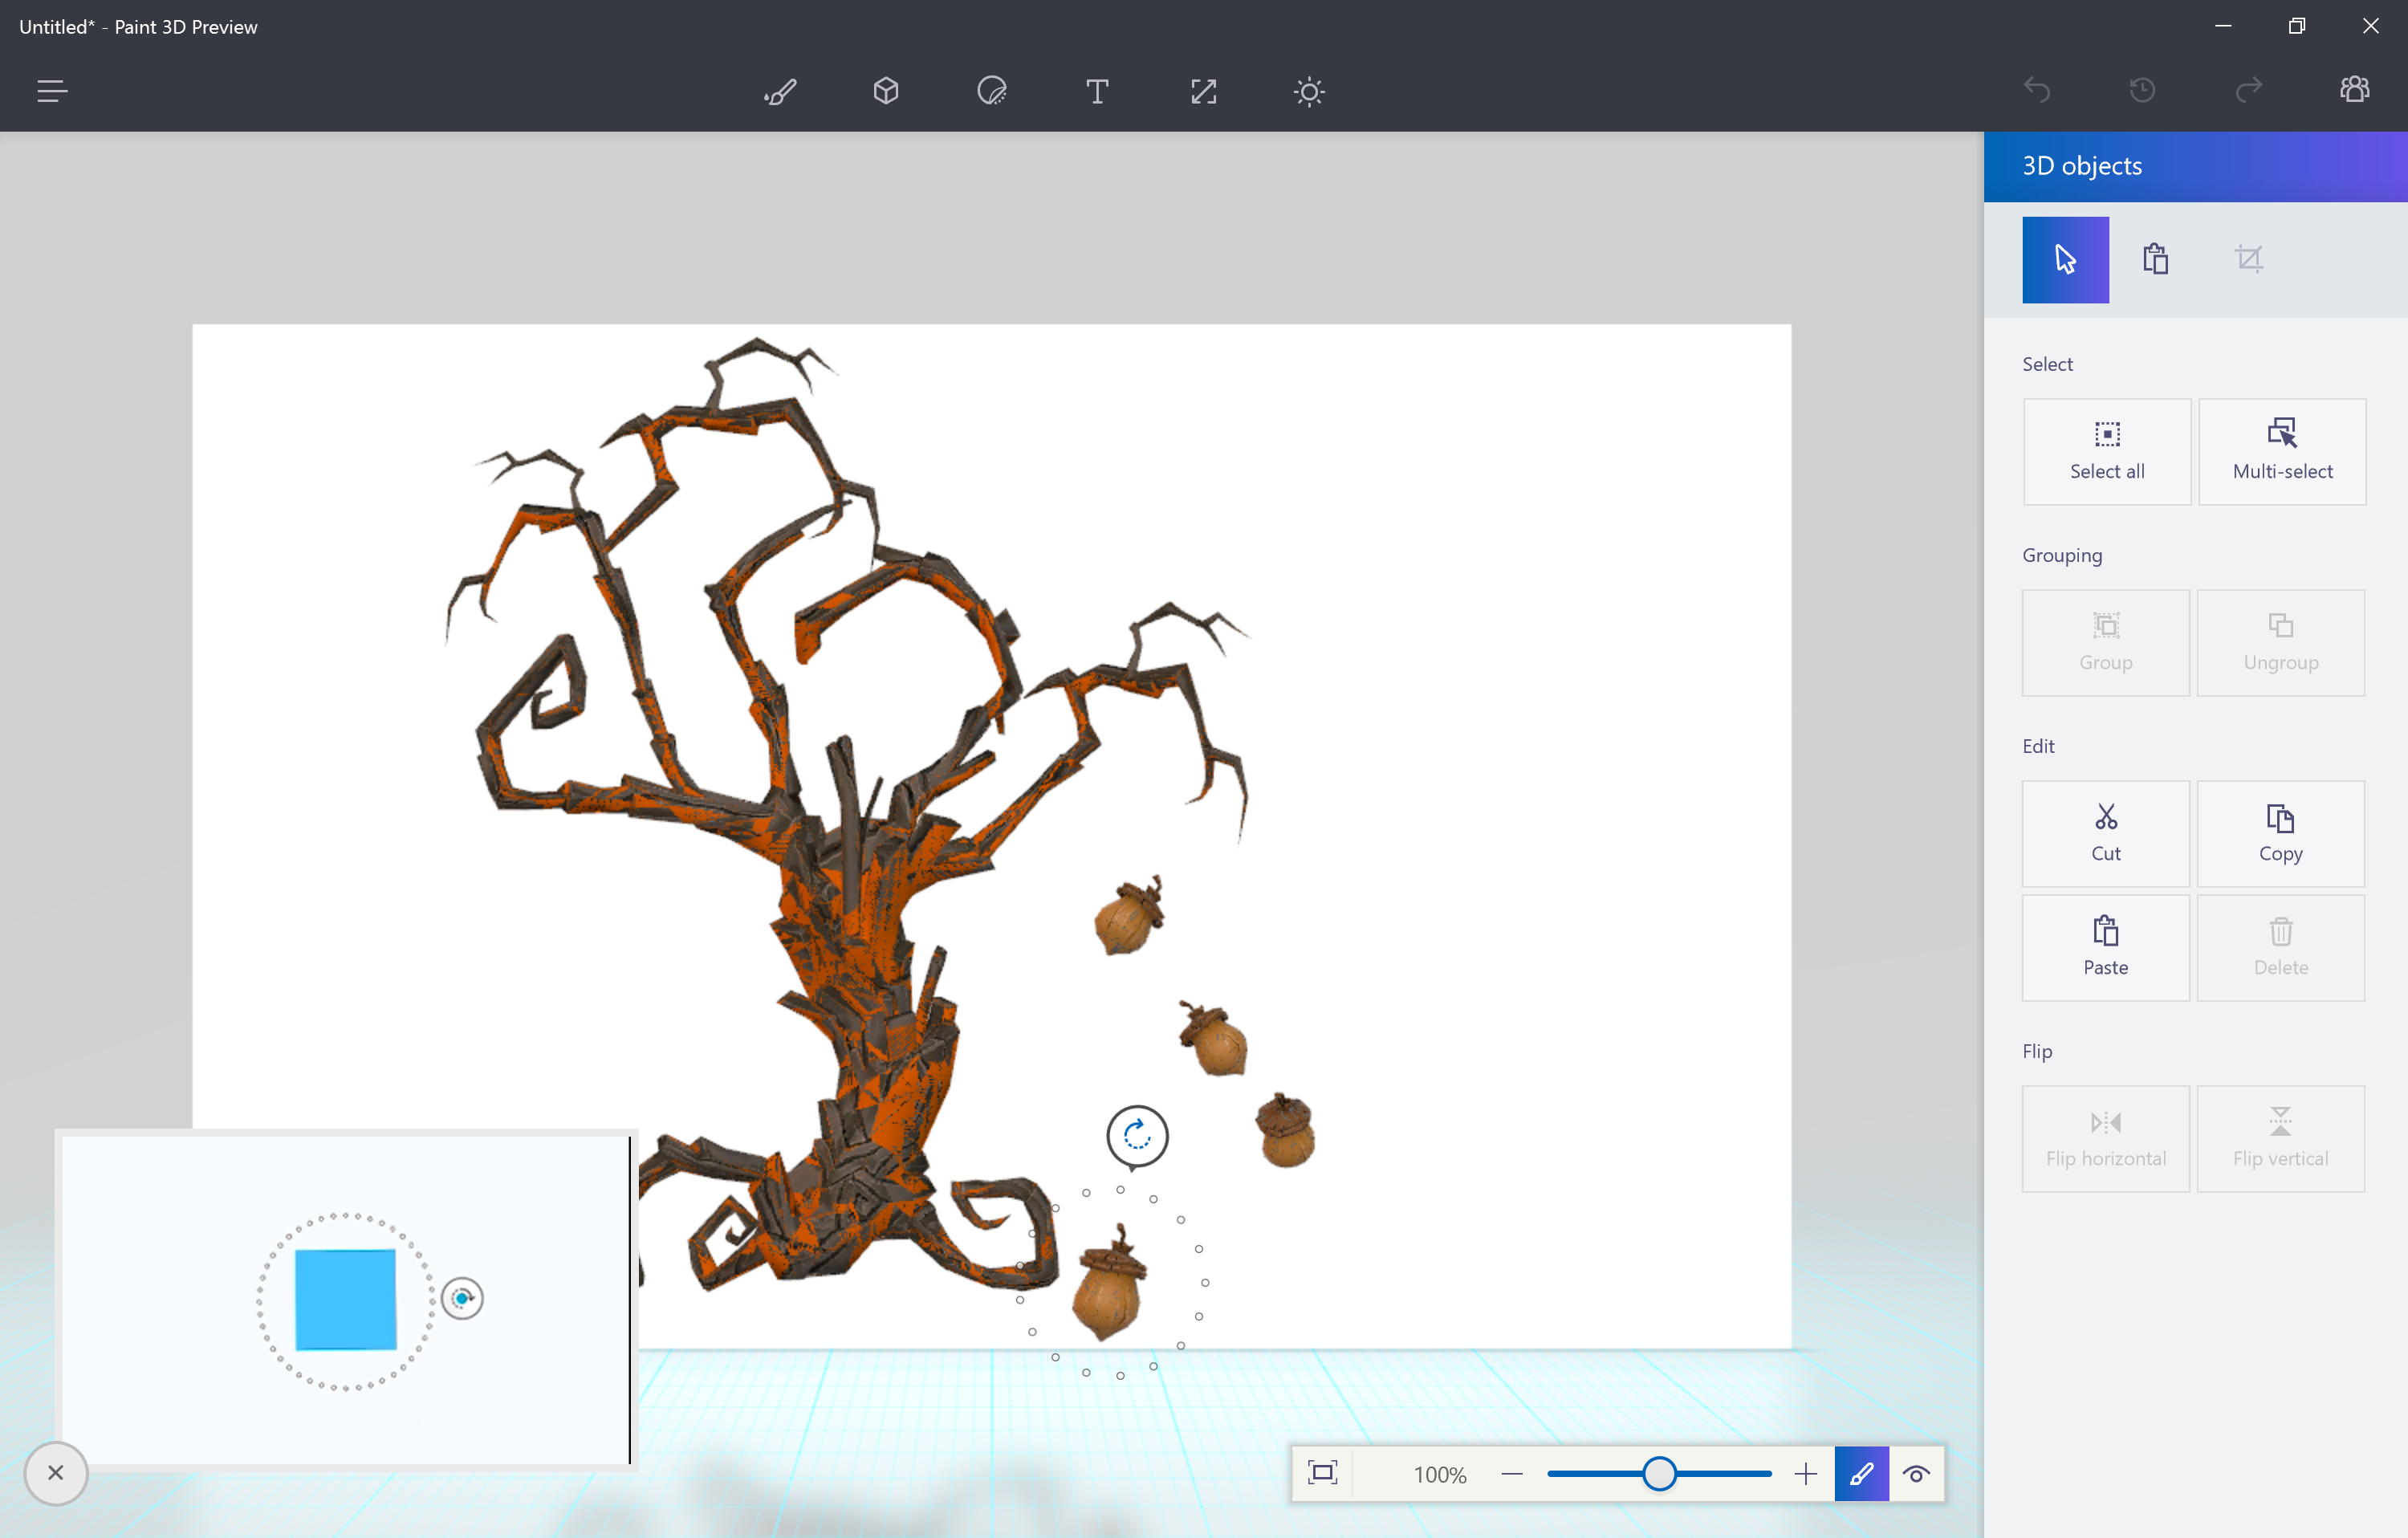
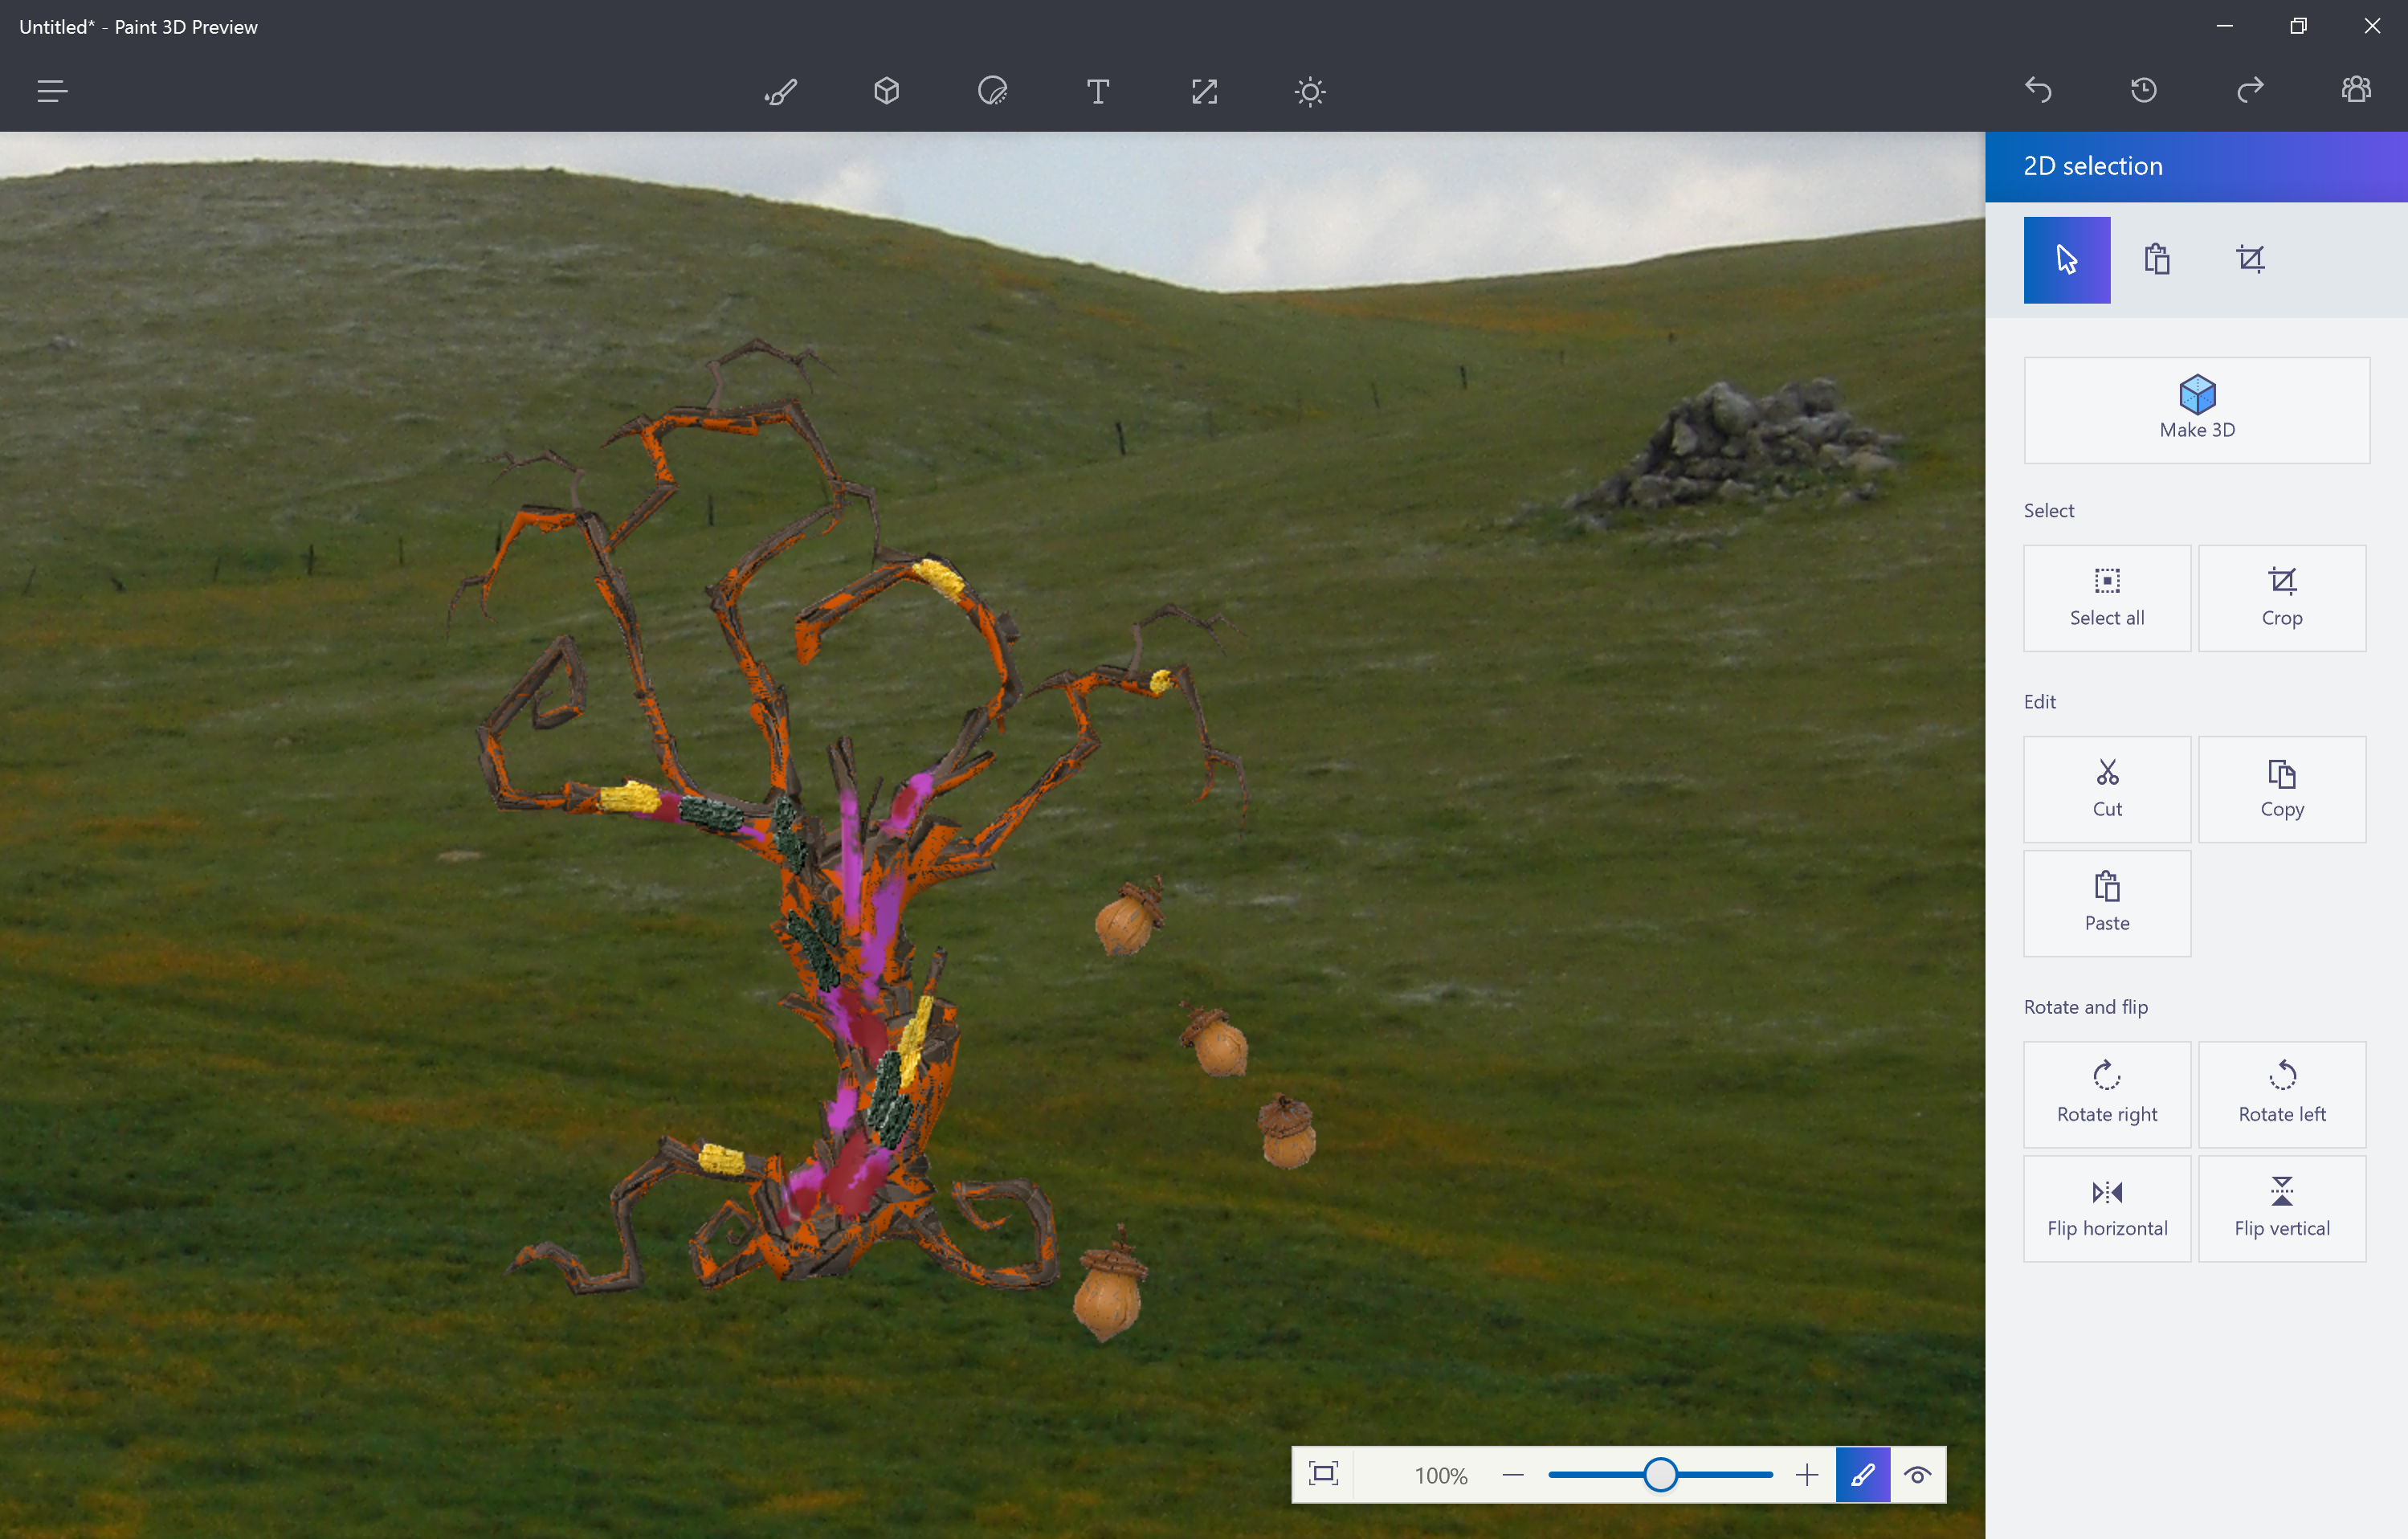
Hither nosotros've opened a 3D model of a tree and an acorn from Remix 3D. Select a model and you can resize it or copy and paste to utilise it several times; or you lot can use the controls to tilt, hinge and arrange your objects behind or in front of each other. The blithe tip on the left shows y'all what you lot can practice.
4. Turn 2D drawings into 3D models
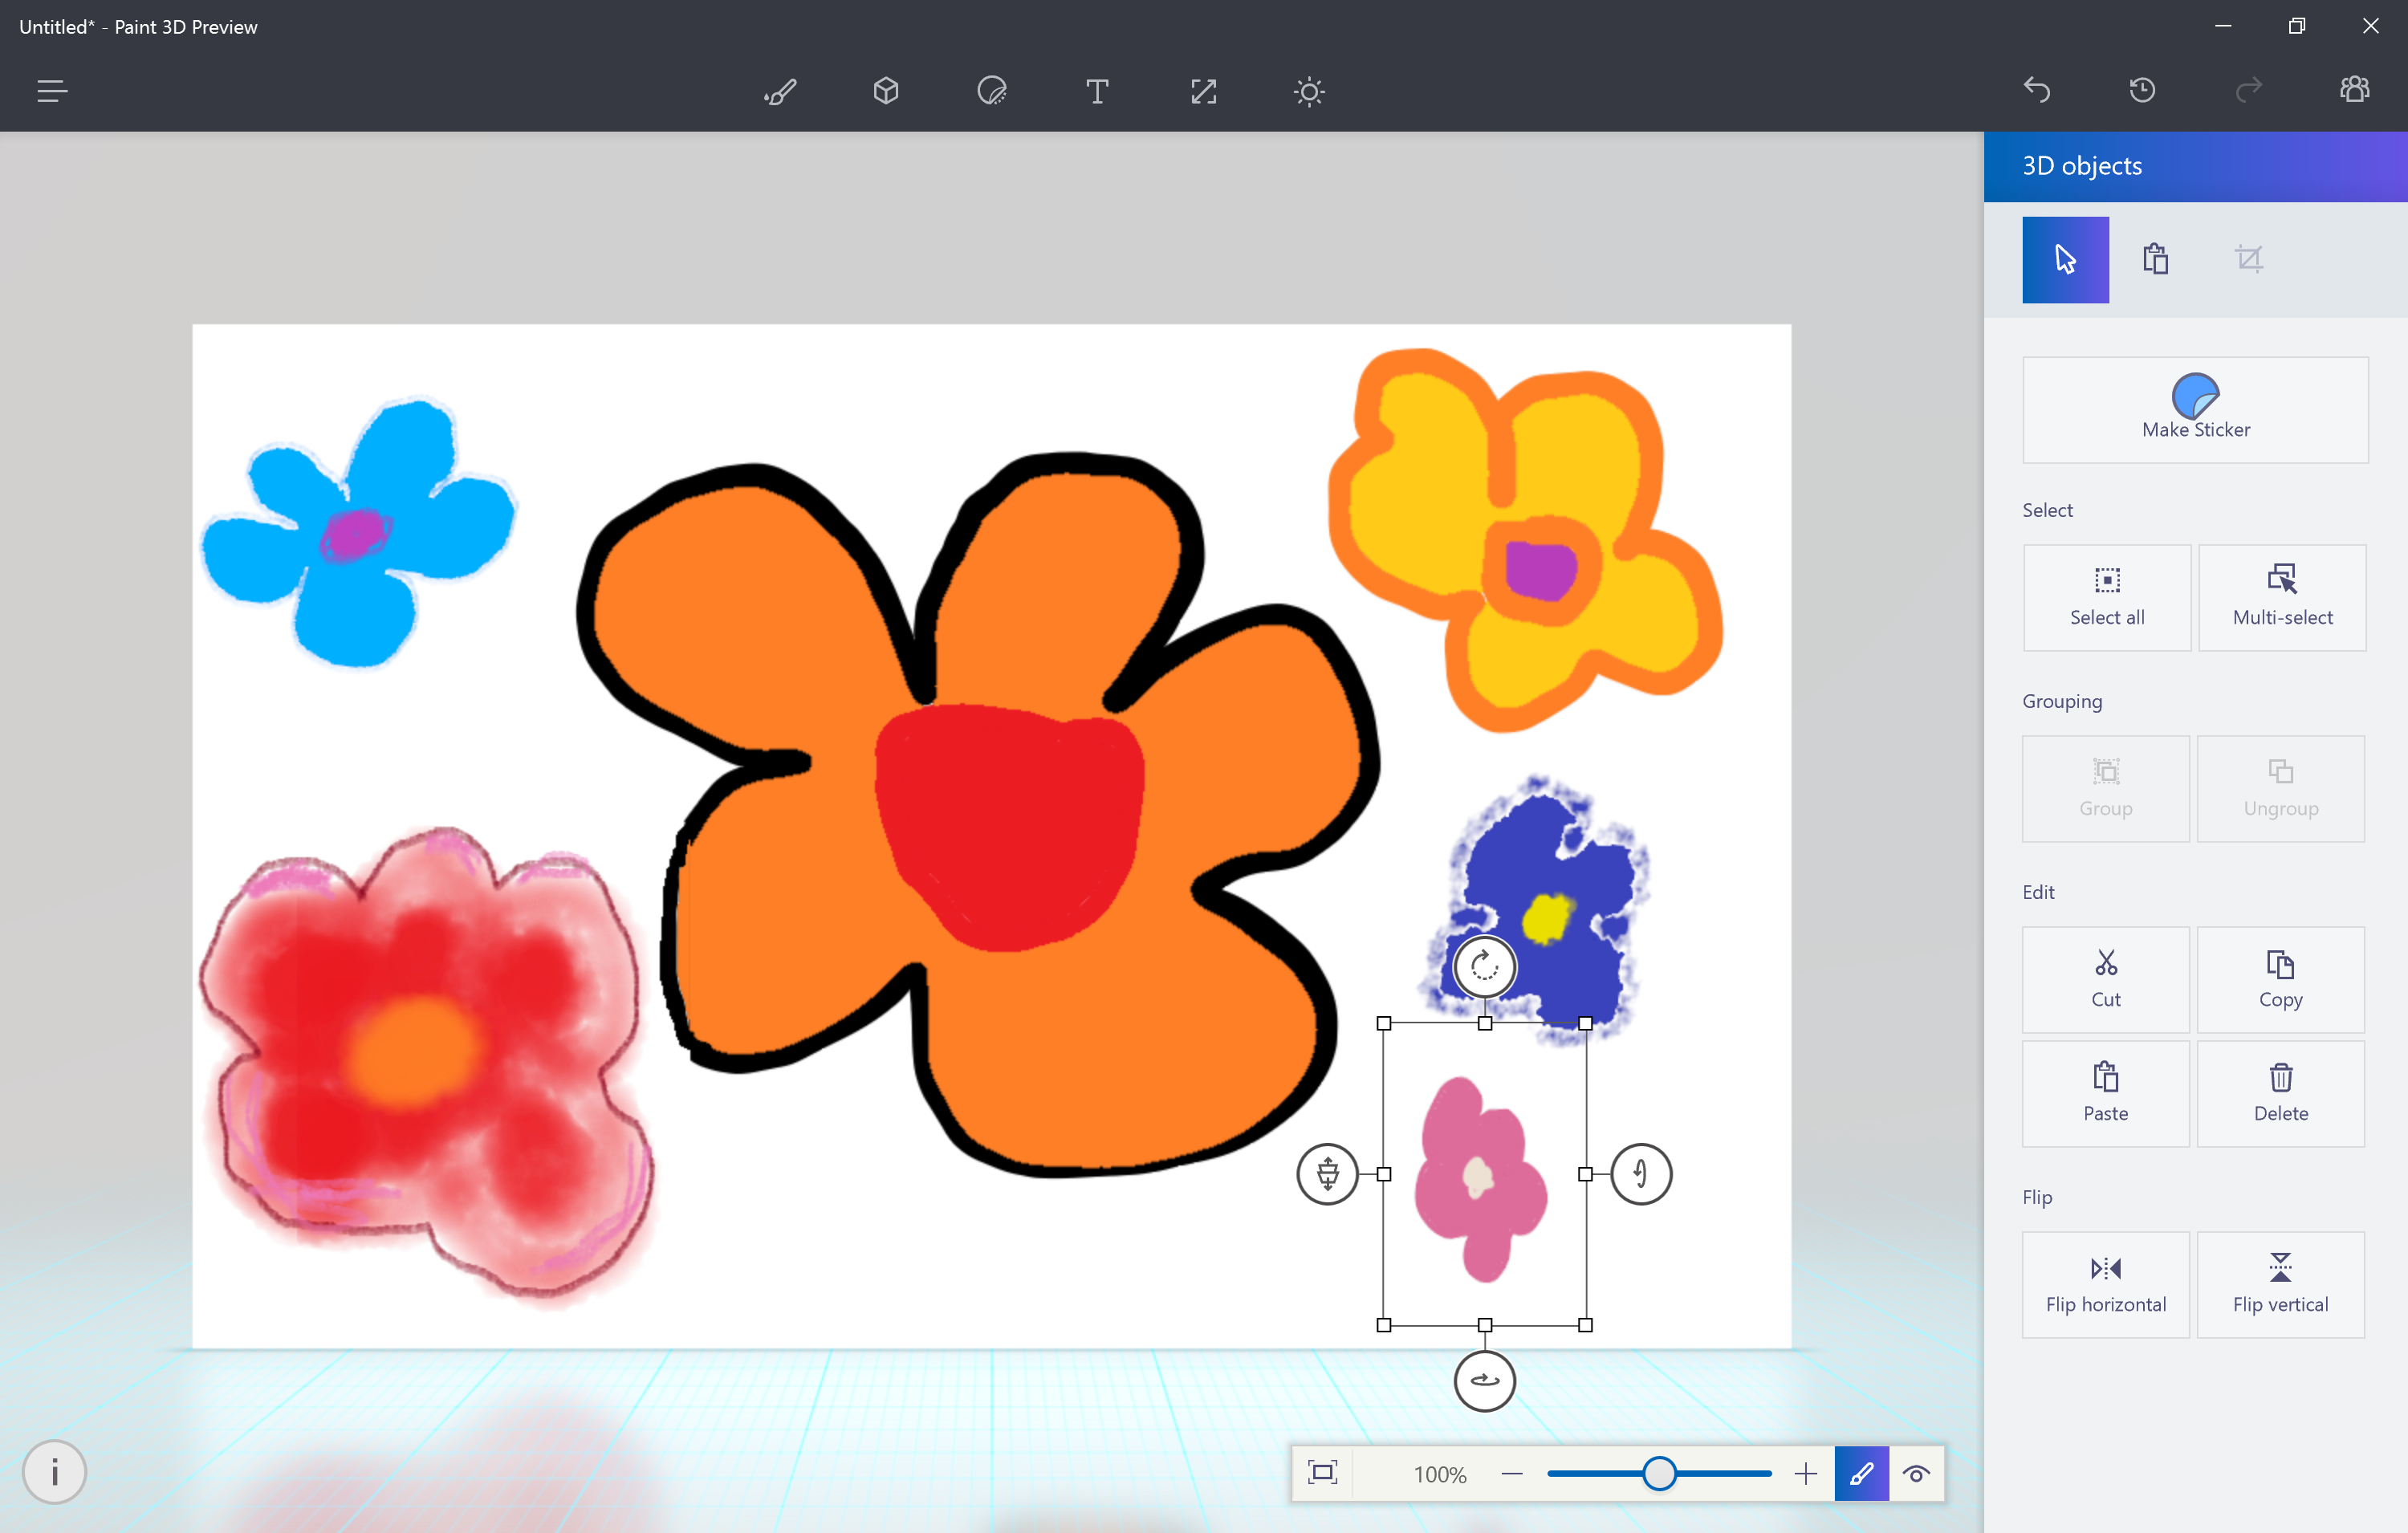
Also as using second pictures (such equally photos) equally the groundwork or for textures, you tin too plow 2D drawings into 3D models. Nosotros drew these flowers with the different brushes, and so selected them individually and clicked the Brand 3D button. It's like cutting out a paper drawing; the drawing nevertheless flat only y'all can tilt it in infinite or put it behind other objects. If yous want to make your 2d cartoon fully three-dimensional, click Make 3D, then click the Brand Sticker push button. Y'all'll be able to stick the drawing onto 3D models and it will wrap around the contours, just like a sticker on a real object.
5. Pigment models and add backgrounds
You tin paint directly onto 3D models using the different brushes; we've used that to make the tree more than colourful. Think, y'all're painting on the 3D surface, then you might desire to rotate the model to pigment the side and then turn it back. Experiment with the different brushes, and different finishes: matte, glossy, dull and polished metals. If y'all don't like the style any of them come out, employ the Undo tool or the Time Motorcar slider (click the icon that looks similar a clock). To insert a photo equally a properties, just copy information technology in Explorer and click Paste.

half dozen. Apply a photo as a texture on a model
To give the acorn a face, we used the sticker feature in Paint 3D. Choose the center and mouth stickers, so drag them onto the model and they'll mold to the shape of the surface. You tin can resize stickers and change the angle when you apply them, but you tin't select them later to make changes; you have to use Undo to go back and effort again.
We drew the dog using the built-in shape tools in Paint 3D; there are lots of basic shapes and figures to choose from. Instead of a sticker, we used a texture to colour the canis familiaris. You lot can choose from the standard textures or click Add my Own on the Custom pane to use a photo.
vii. Draw 3D shapes freehand
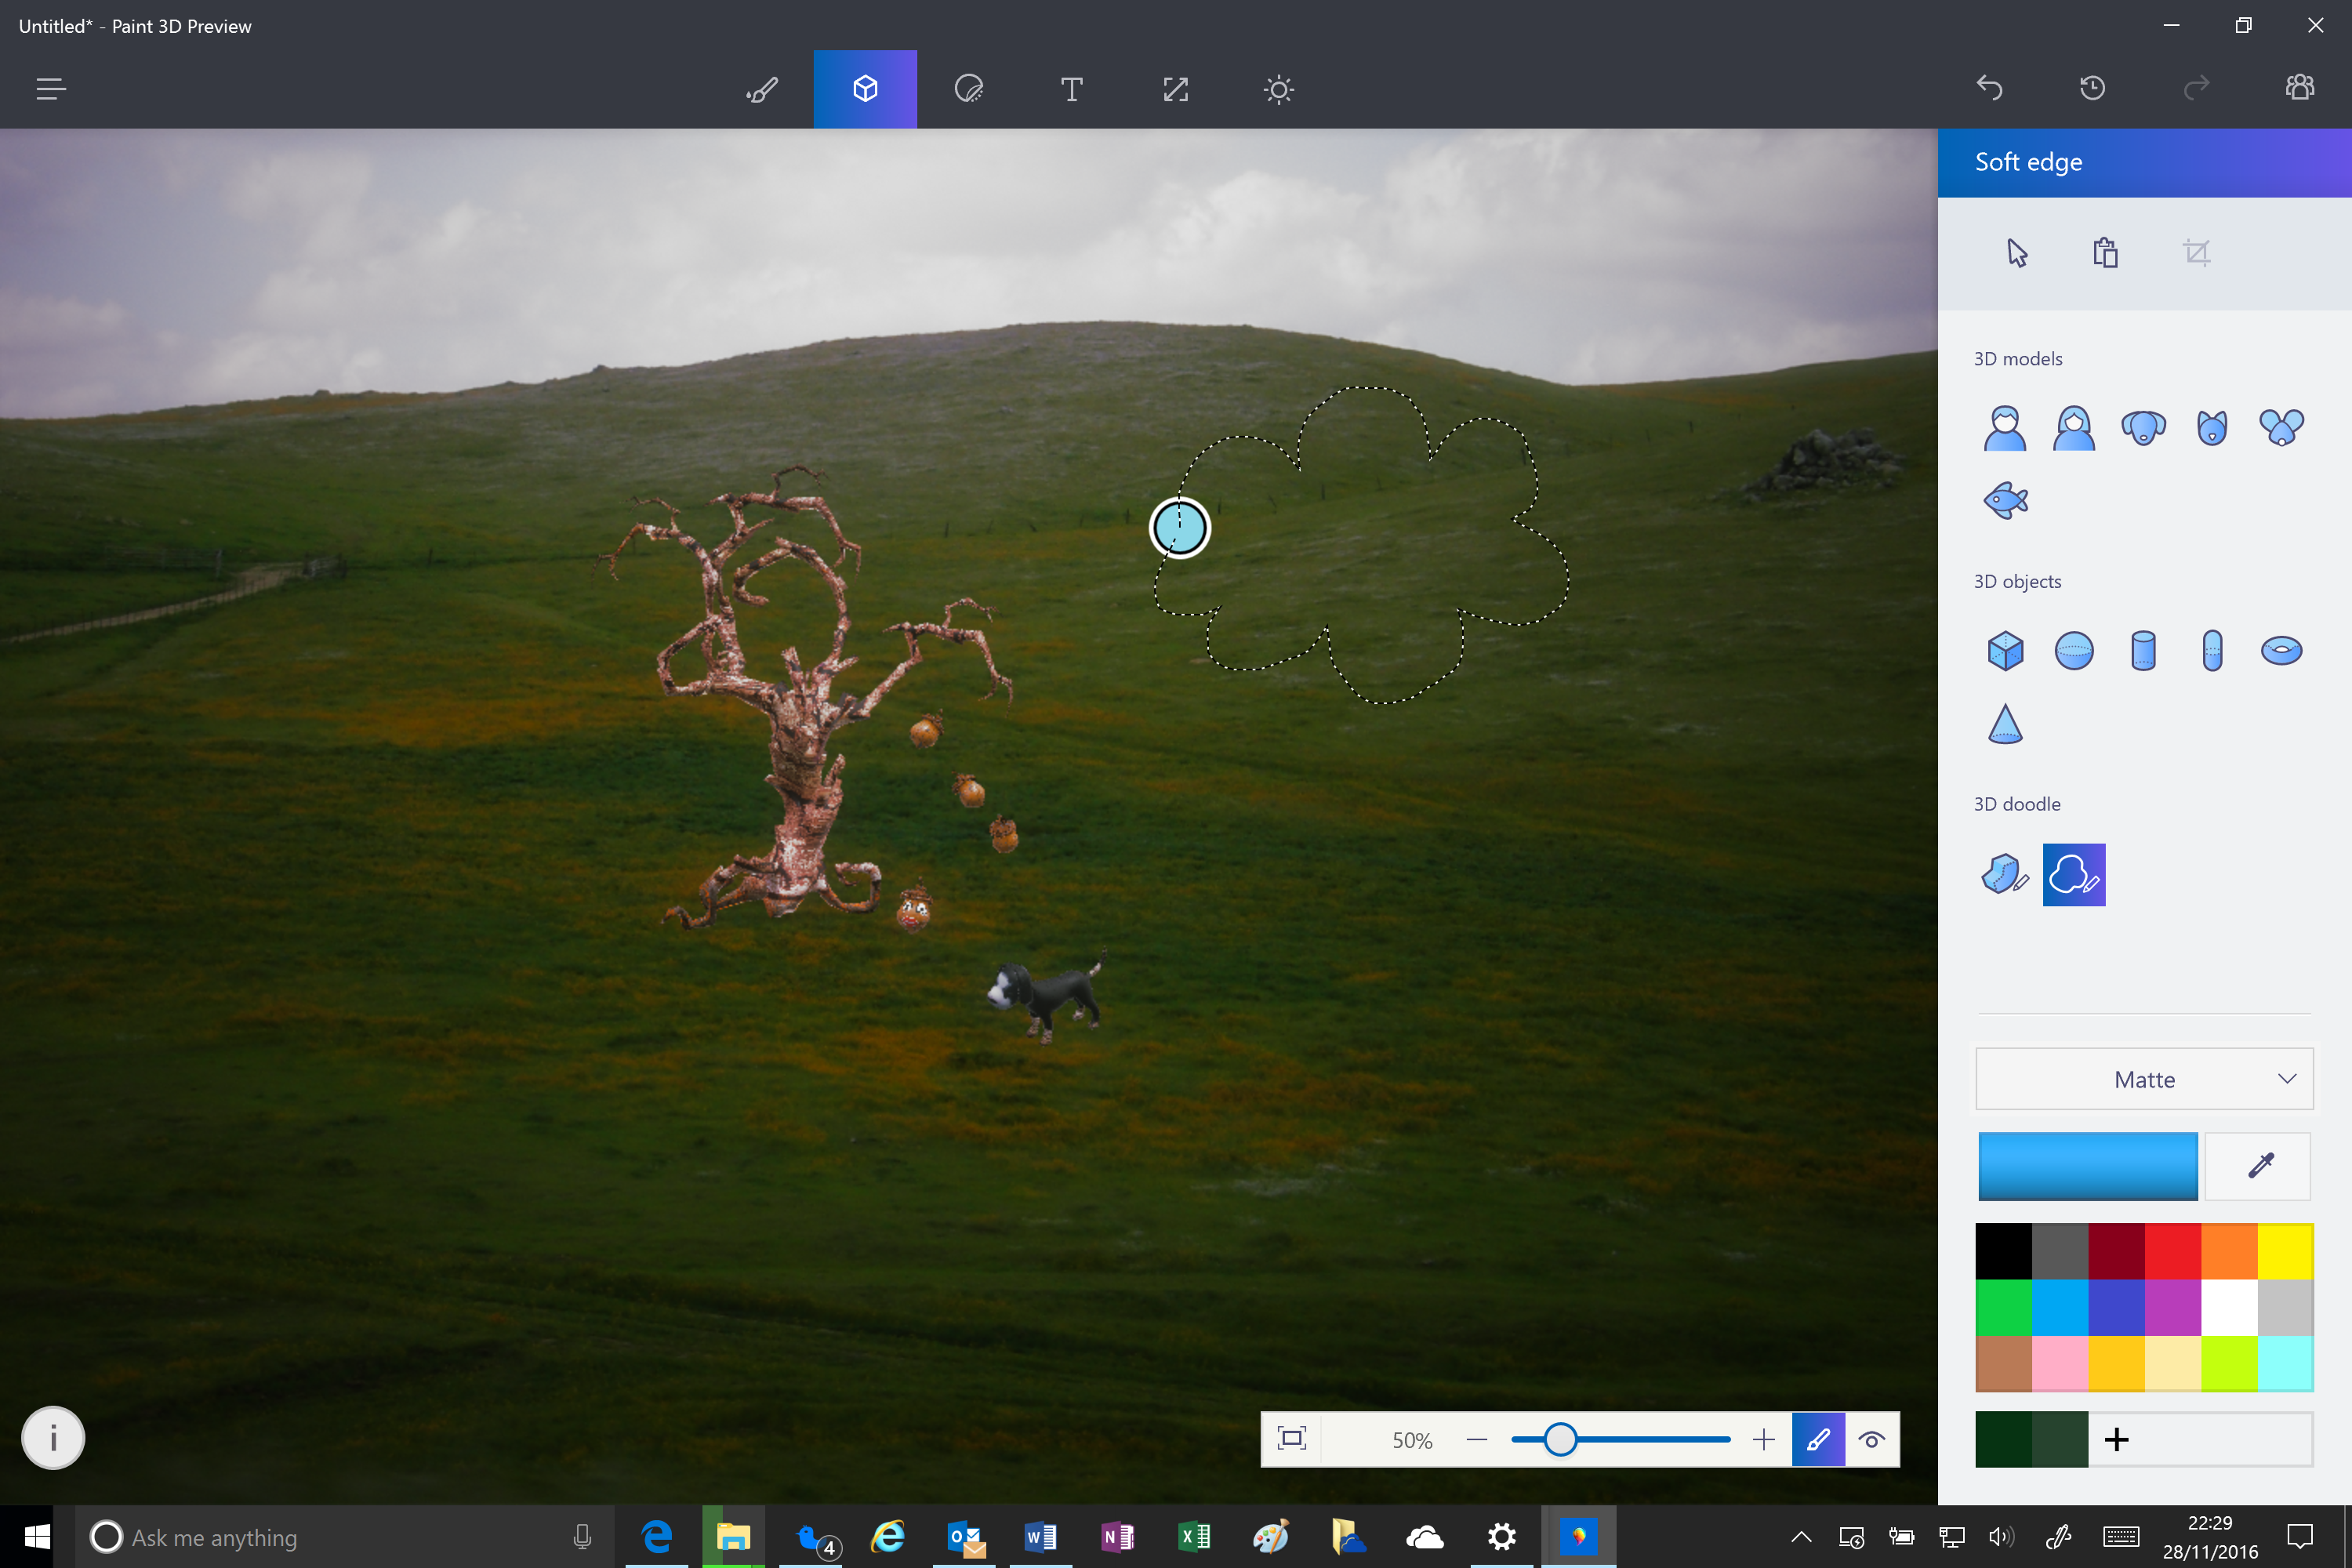
There are vi 3D shapes you can use to make your own models: square, sphere, cylinder, capsule, cone and doughnut. If you need a 3D shape that's not on that list, yous can draw it yourself with the 3D Doodle tools. The soft edge Doodle tool puffs upwards the shape you depict, like bravado upward a balloon. Nosotros've used information technology to describe a cloud.
The sharp edge Doodle tool doesn't distort the shape you lot draw equally much; it just extrudes it, and yous can pull the (apartment) sides in and out to alter how broad the model is.
8. Salvage your creation
Once you have all your objects in the scene, you can arrange them in 3D infinite. Select a 3D object and click the tool on the left of the bounding box that lets yous drag the object backwards and forwards on the stage – behind or in front end of the other objects or fifty-fifty inside them. Y'all tin can as well add together 2D and 3D text to the scene if you want to include a message. Use the effects to cull a tint to the lighting.
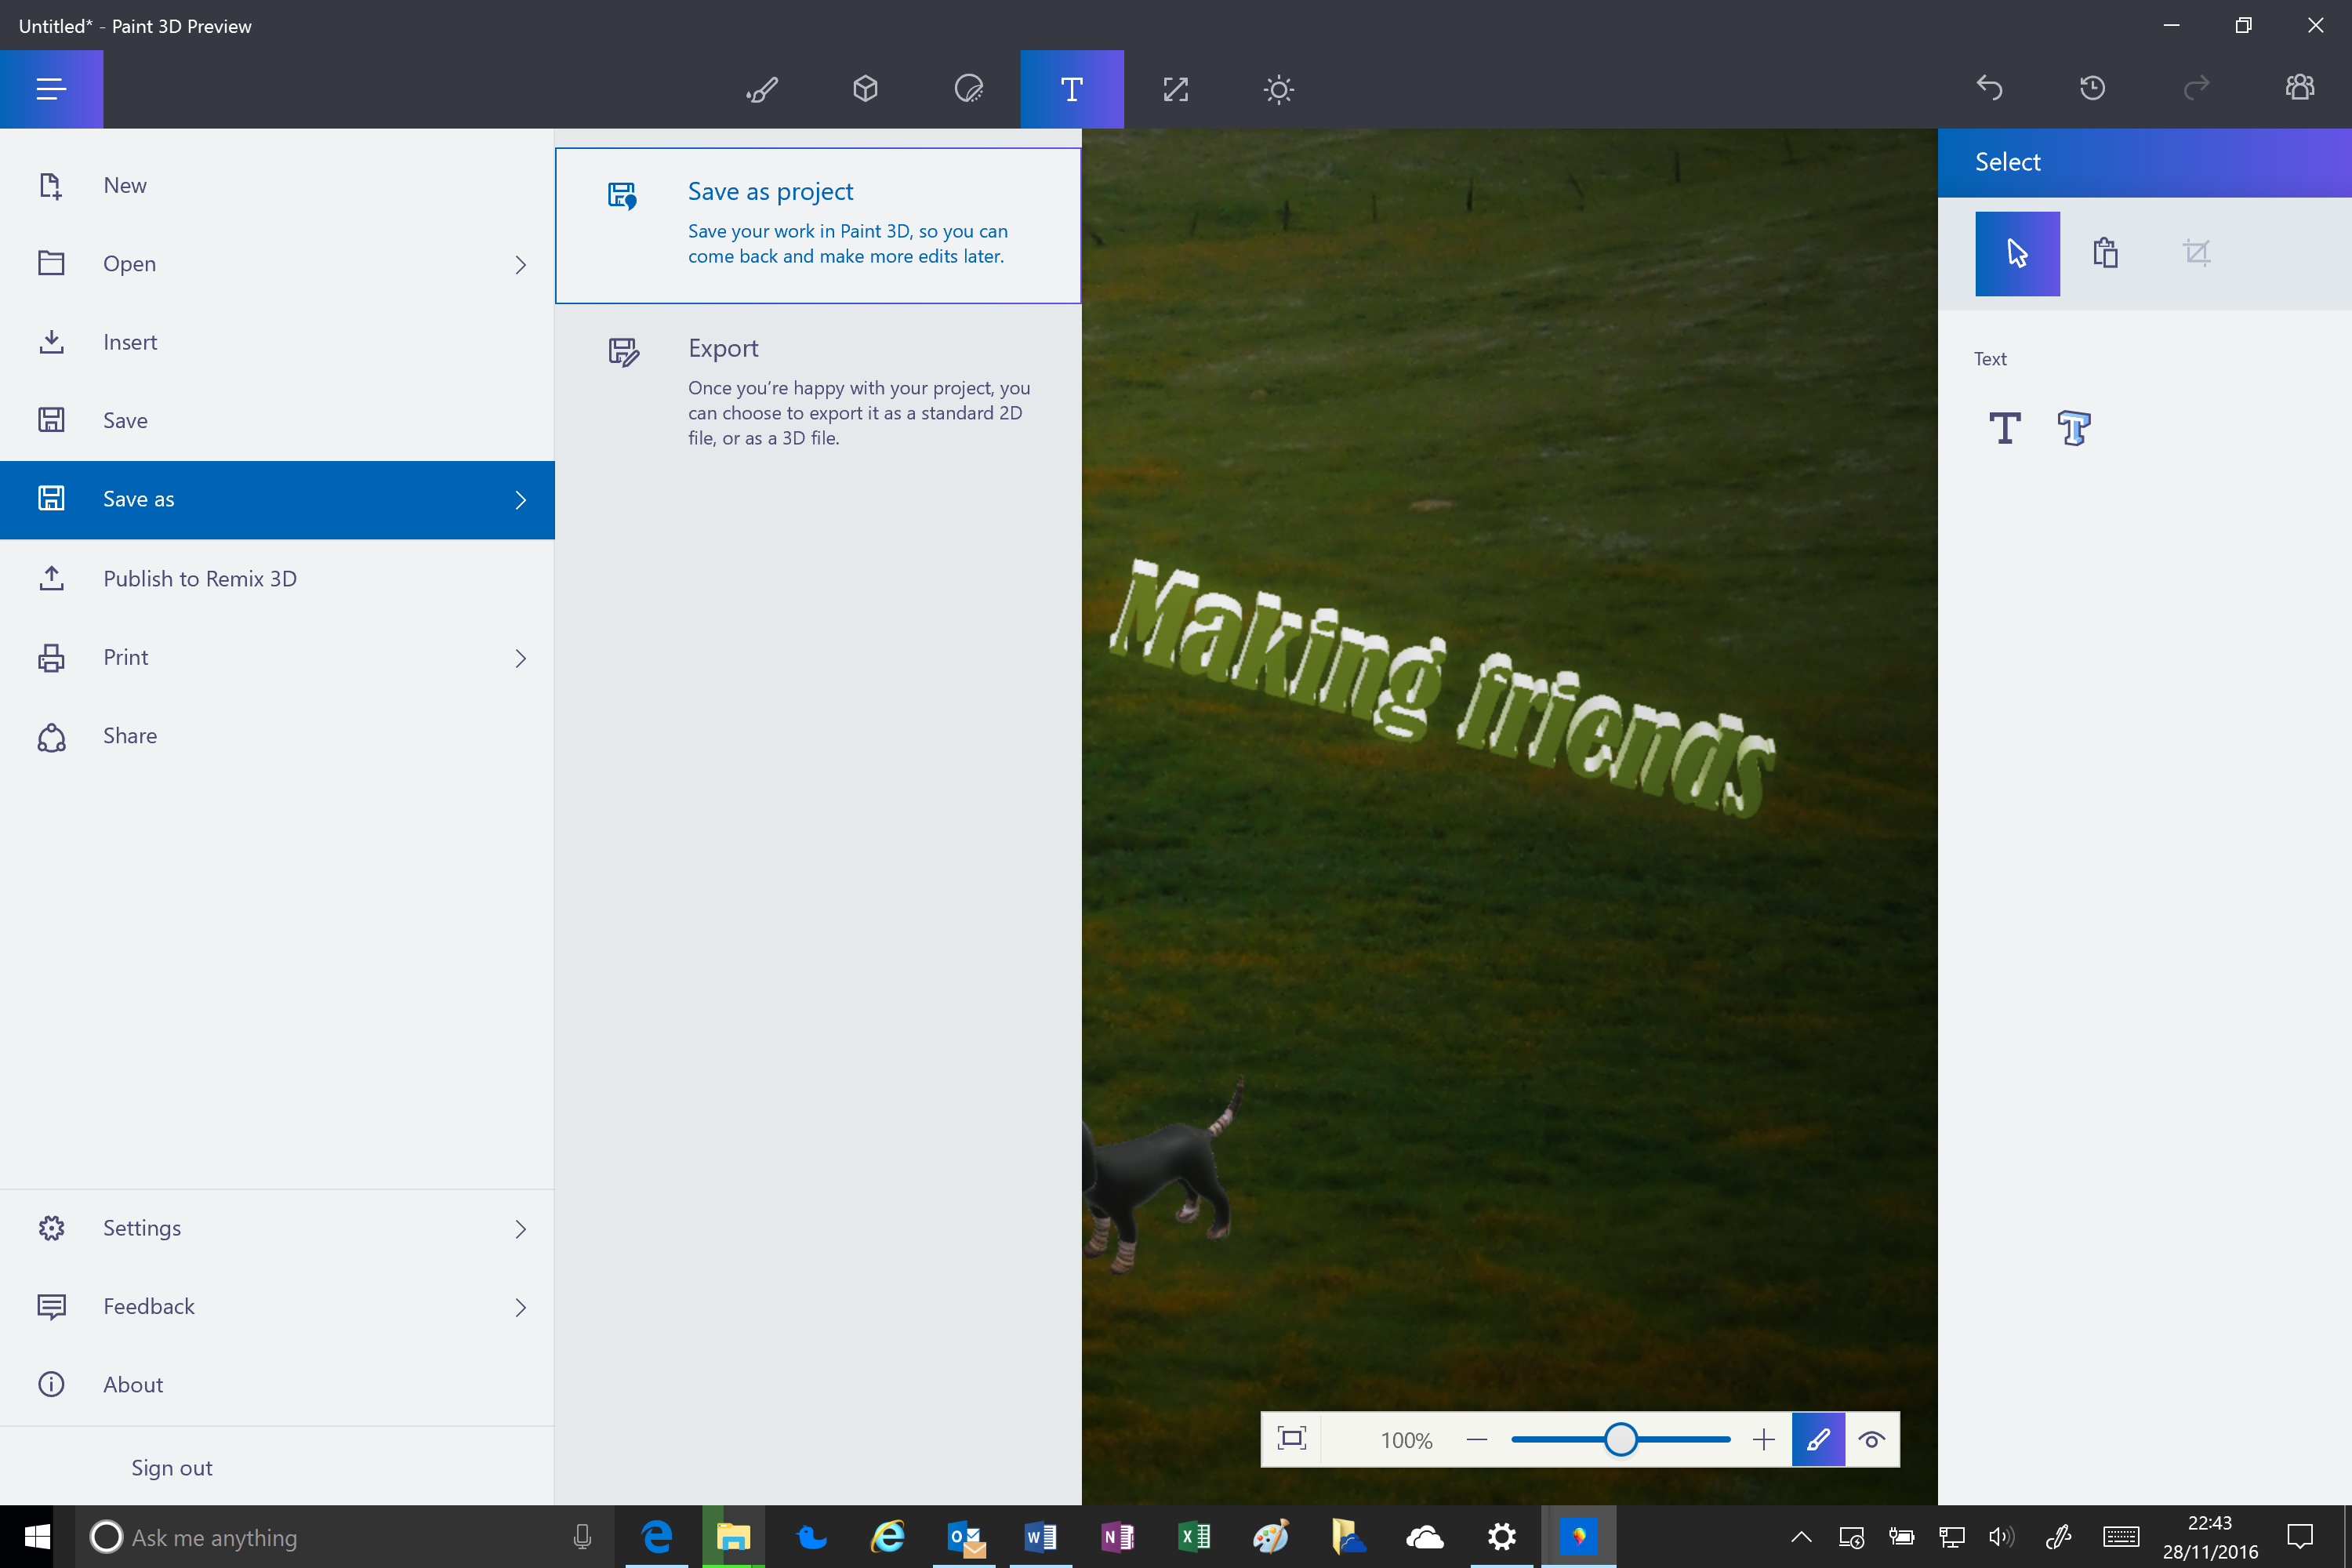
In one case y'all're happy with the results, utilise Save, Export or Publish to Remix 3D if you lot're completely finished. If you want to come dorsum and keep working, make sure you cull Save Projection or you won't exist able to edit annihilation afterwards.
The best costless photo editor 2016
Whatsoever your level of expertise, at that place's a free photograph editor that will give yous all the tools you need to make your pictures look amazing. These are our three favorite free tools for optimizing your images.
For more than details, see our consummate guide to the best free photo editors

1. GIMP

The well-nigh fully-featured complimentary photo editor around, GIMP is powerful plenty for just about any task.
2. Pigment.NET
Non quite as feature-packed as GIMP, but Pigment.Internet's streamlined interface makes everyday photo editing a cakewalk.
three. PhotoScape
PhotoScape appears unproblematic , but delve a little deeper and you'll detect RAW conversion, photograph splitting and merging, and animated GIF creation.
Source: https://www.techradar.com/how-to/how-to-use-microsoft-paint-3d
Enregistrer un commentaire for "draw straight line with paint 3d"